
Recommended tools and software to create an online course
Our recommendations for the best equipment, tools, software, platforms & resources that will help you create, market and sell your online course.
There are 7 main things you need to create your online course videos:
- Sound
- Lighting
- Camera
- A Tripod
- Recording software
- Editing Software
- An online course creation tool
We prepared a list of gear and tools that we usually use when recording videos for courses. If you are on a budget, no worries, we also looked up cheap but solid options!
The importance of sound in online course creation
Good sound is the most important element of your video — it’s even more critical than image quality. So if you’re hesitating between buying a microphone and a camera, you should go with the microphone.
Here is a quick example showing the importance of sound over video quality if you’re not convinced:
If your video is mainly going to be you talking over slides and showing examples on the computer, we recommend using a USB microphone, so you can connect it to recording tools like OBS and make your editing process easier.
Here are our recommendations
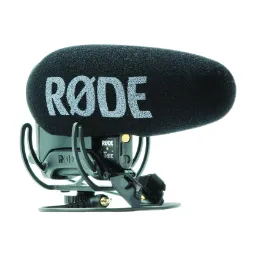
1 / RØDE VideoMic Pro+
A very solid camera microphone
Type: Camera Microphone
Price: $299
Get on Amazon →
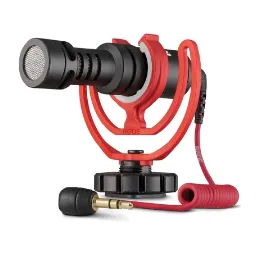
2 / RØDE VideoMicro
Bang for you buck camera mic
Type: Camera Microphone
Price: $70
Get on Amazon →
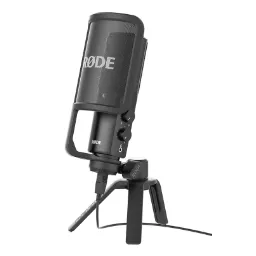
3 / RØDE Rode NT-USB
A solid USB microphone
Type: Camera Microphone
Price: $169
Get on Amazon →
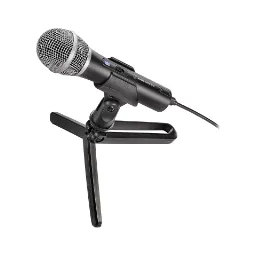
4 / Audio-Technica ATR2100x
Bang for you buck USB mic
Type: USB Microphone
Price: $79
Get on Amazon →
How to use lighting to improve your online course
Having a well-lit face is also more important than the camera quality. If you already have a well lit environment (sitting close to a big window helps a lot), you may not need fancy lighting, especially if your course will mostly be you reading slides and will look like this:
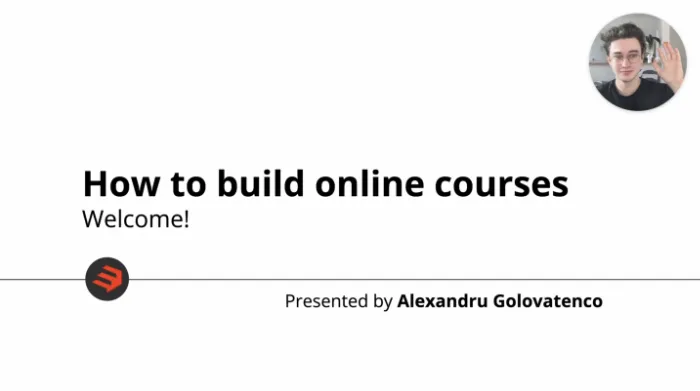
But if you already are experienced with creating videos, and want to have a lot of talking heads in your course, then it can make sense to spend a bit of time making your video lighting better, this concise video can help you learn more about lighting videos:
What camera to choose when you create an online course
If you are mostly going to be reading slides in your course, then you probably don’t need a fancy camera, a good HD webcam will do. It will actually be more convenient to record with a webcam than a camera because you won’t have to import additional footage from an SD card into your editing software.
Also, keep in mind that buying a camera is going to be more expensive, as you may have to buy lenses, tripods, or additional accessories to make it work.
Here are a few webcam and camera recommendations:
Here are our recommendations

1 / Your Smartphone
Great option if it films in 1080p+
Type: Smartphone
Price: Free
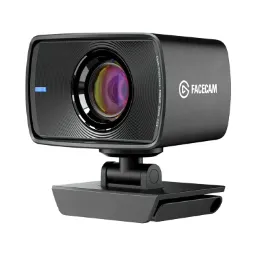
2 / Elgato Facecam
A solid facecam for your course
Type: Facecam
Price: ≈ $170
Get on Amazon →
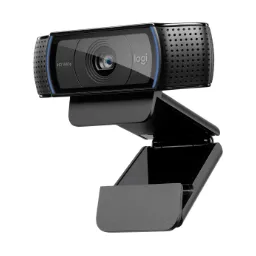
3 / Logitech C920
Great value facecam
Type: Facecam
Price: ≈ $70
Get on Amazon →
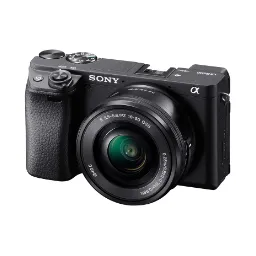
4 / Sony Alpha 6400
Great professional camera
Type: Camera
Price: ≈ $1 200
Get on Amazon →
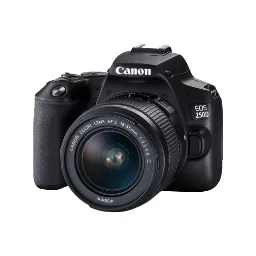
5 / Canon EOS 250D
Great value camera
Type: Camera
Price: ≈ $700
Get on Amazon →
What tripod to choose for your online course
If you are buying a camera or using your phone, you will probably need a tripod to hold them in place when filming.
Here are our recommendations
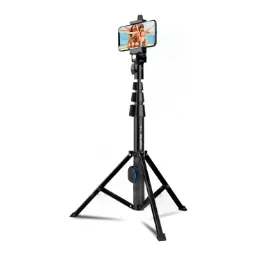
1 / Fugetek 51
Budget tripod for small spaces
Type: Smartphone tripod
Price: $20
Get on Amazon →
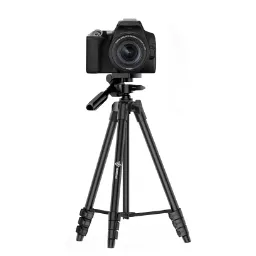
2 / TECELKS Tripod
Simple budget tripod
Type: Smartphone / Camera
Price: ≈ $23
Get on Amazon →
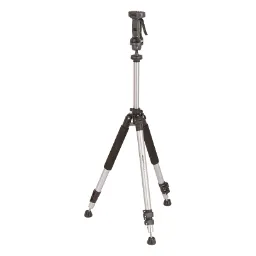
3 / Amazon basics Tripod
Solid option from Amazon
Type: Smartphone / Camera
Price: $90
Get on Amazon →
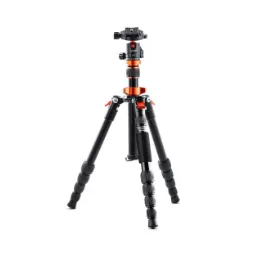
4 / K&F Concept 68
A fancy option (a bit overkill)
Type: Smartphone / Camera
Price: ≈ $150
Get on Amazon →
Choosing the right screen recording software
All of these tools allow you to record your screen and your webcam at the same time, which will make your editing process easier if you are using a webcam, or if you manage to use your camera as a video source in a tool like OBS by using the OBS virtual cam plugin.
Here are our recommendations

1 / OBS
Great free option
Compatibility: Win, Mac, Linux
Price: Free
Go to website →

2 / Snagit
A bit old, but works well
Compatibility: Win, Mac
Price: ≈ $65
Go to website →
3 / Cleanshot X
My personal favourite!
Compatibility: Mac OS only
Price: $29
Go to website →

4 / Loom
A great and affordable option
Compatibility: Win, Mac
Price: $8 per month
Go to website →
If you are using OBS, we recommend following the following tutorial to add your face at the top right hand corner of your screen.
Which video editing software to use for your course?
Here are the 3 industry-standard tools used when editing videos for online courses.
Here are our recommendations

1 / DaVinci Resolve
Great free option (my favourite)
Compatibility: Win, Mac, Linux
Price: Free
Go to website →
2 / Premiere Pro
Works well, less stable though
Compatibility: Win, Mac
Price: ≈ $20 per month
Go to website →
3 / Final Cut Pro
Great if you use an apple device
Compatibility: Mac OS only
Price: $299
Go to website →
What is the best online course platform?
A few years ago, our team grew an online course business to over 7 figures in yearly revenue. We managed to grow it to this size and build systems to create and sell online courses efficiently, but something was slowing us down: our course creation platform.
We want the best experience for our students, so we had ended up cobbling together a bunch of WordPress plugins to build a membership site with a community, and create interactive lessons with resources.
But it was... Slow, complex, and was breaking all the time. It was a nightmare to manage.
So a few years ago, we decided to reinvest the money from our course business to create the most advanced course creation tool for creators: SchoolMaker. This online course creation software not only allows you to create and sell your online courses, it goes even further by providing tools to help your students get the most out of your courses, so you can make more money from your business.
How SchoolMaker is different from other course creation tools
SchoolMaker allows you to set specific steps for your students to follow at the end of each lesson. And it remembers at which step they left off. You’ll never again get an email asking “What should I do next?”
How SchoolMaker is different from other course creation tools
SchoolMaker allows you to set specific steps for your students to follow at the end of each lesson. And it remembers at which step they left off. You’ll never again get an email asking “What should I do next?”

Go beyond Facebook / Slack / Discord groups with a built-in community, 1 click away from your lessons.

Save hours each week with automated video Q&As, which allow you to handle everyone’s questions in less than 2 hours a week, even if you have thousands of members.

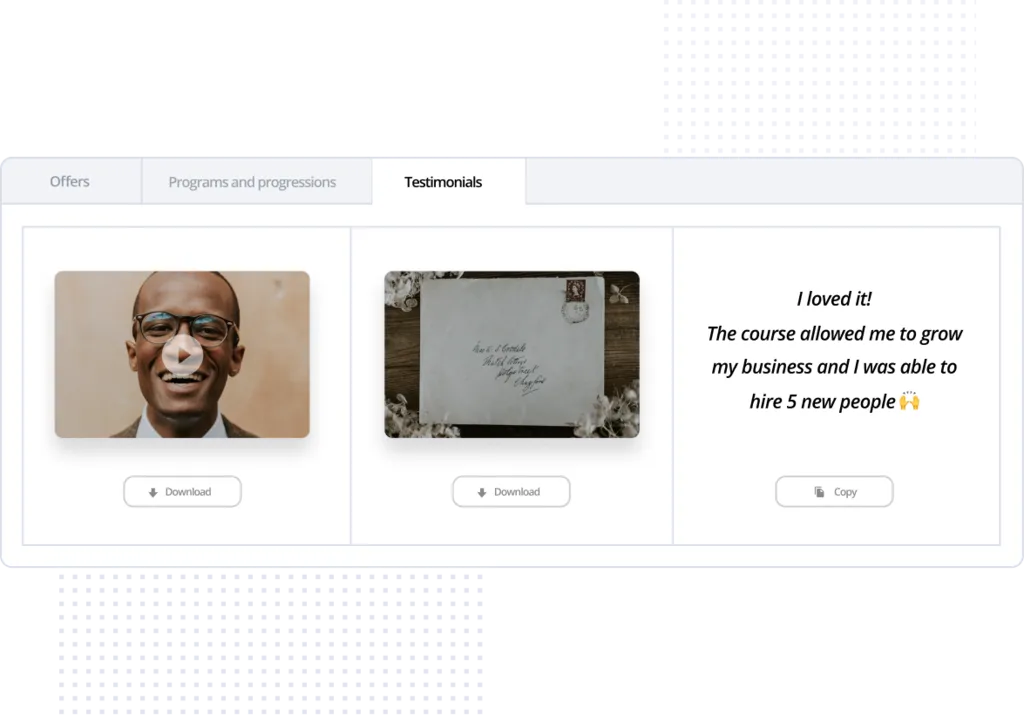
Automate testimonial collection by letting SchoolMaker trigger a testimonial request as soon as a member reaches a major milestone, like getting their first client.
Easily take payments via Stripe, or use any shopping cart with our Zapier integration.


Alexandru Golovatenco
I'm responsible for ensuring that every guide and article we publish helps you grow your online course business.


